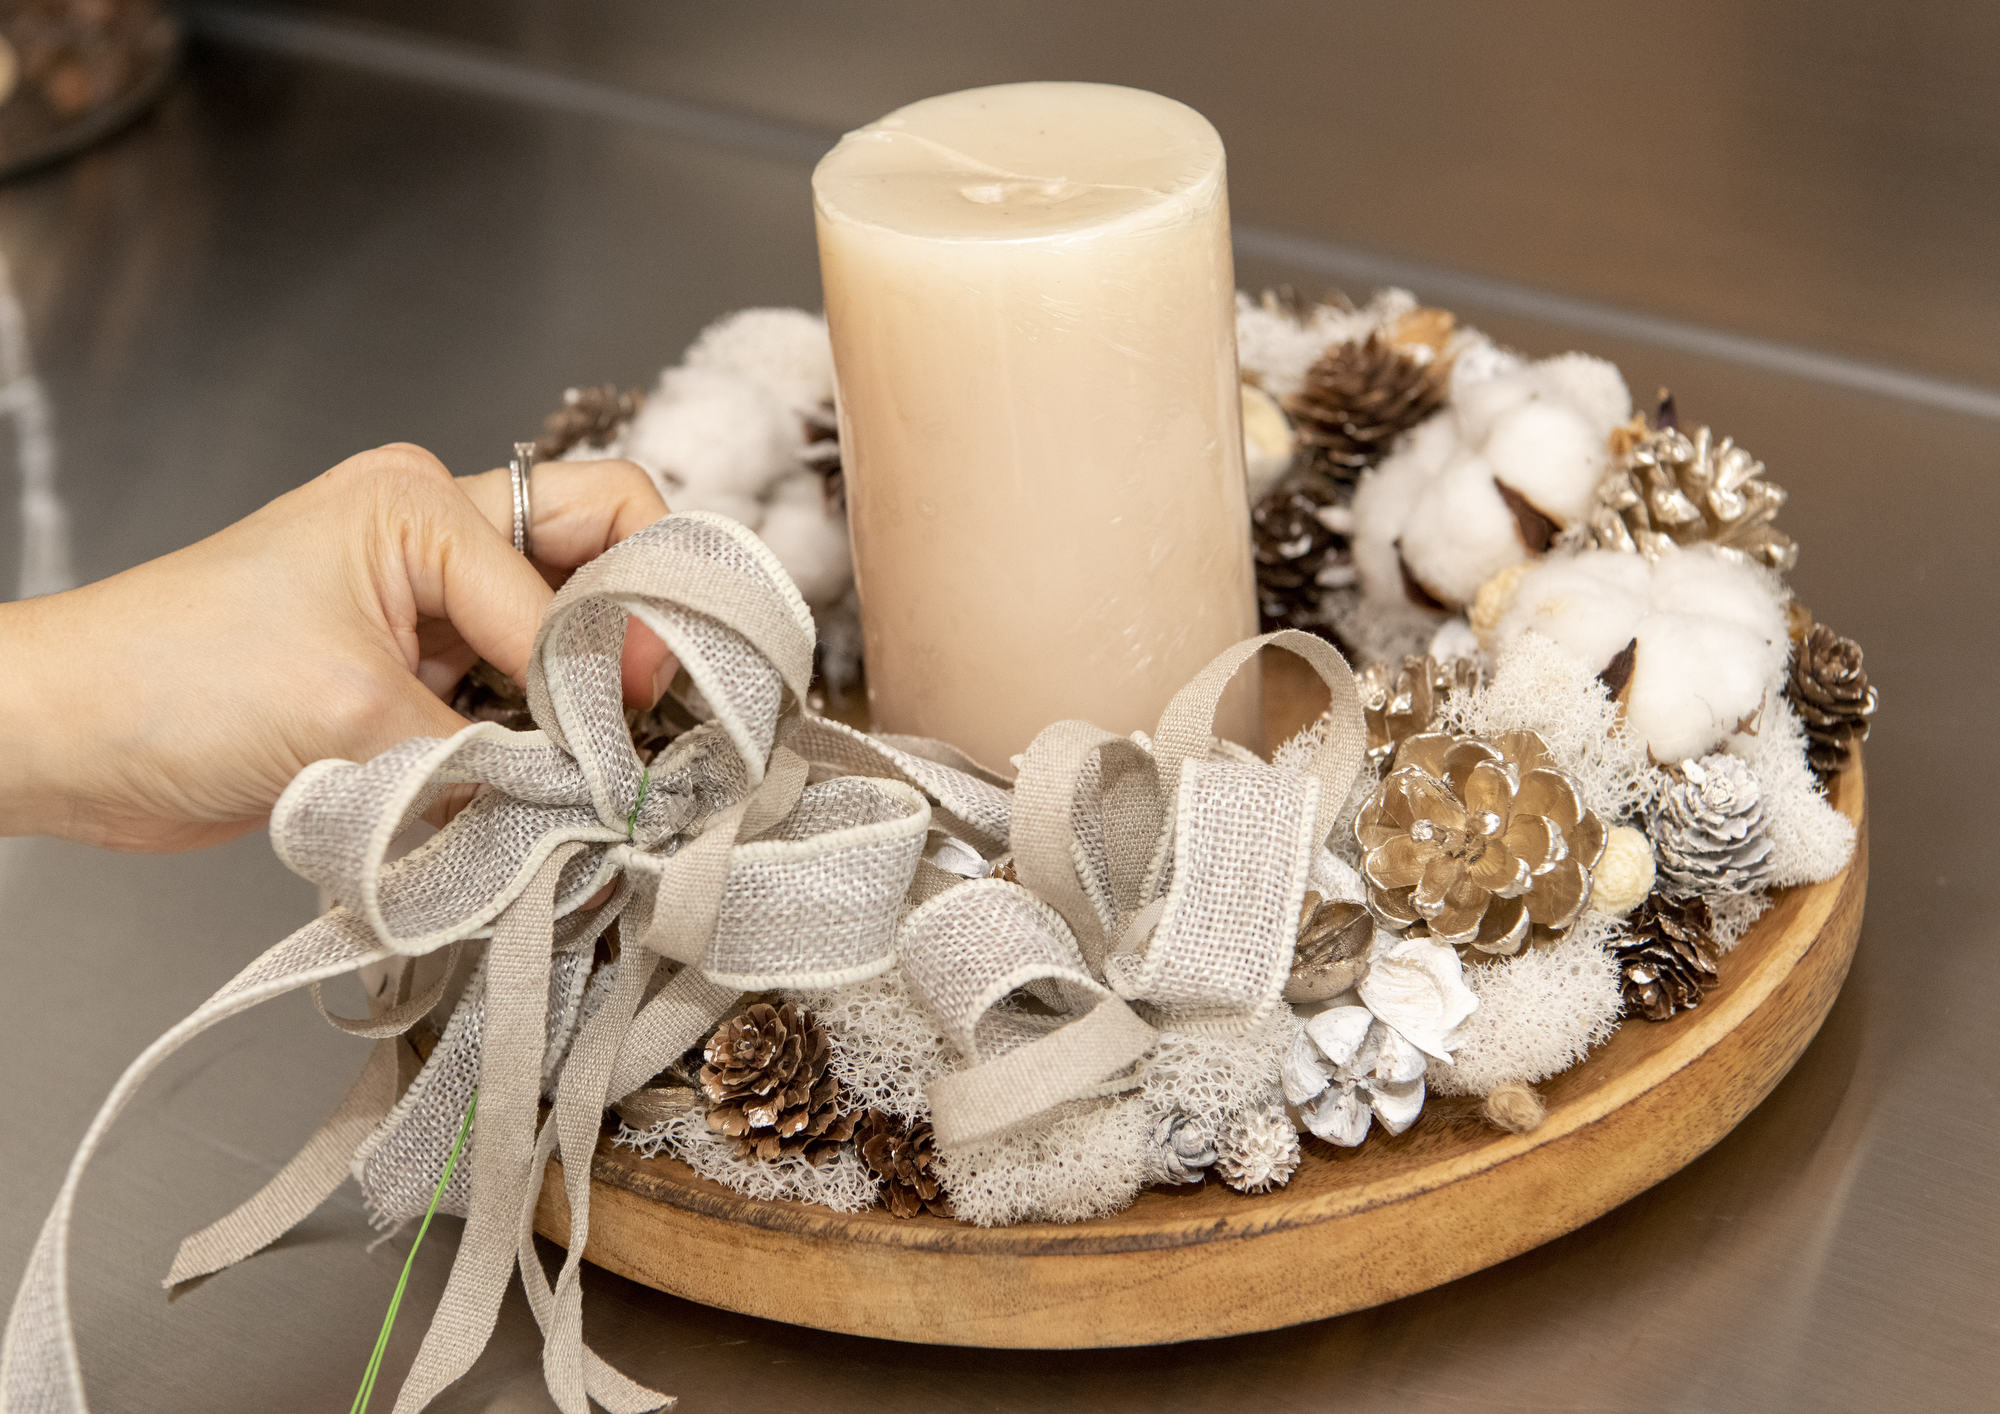
Material checklist:
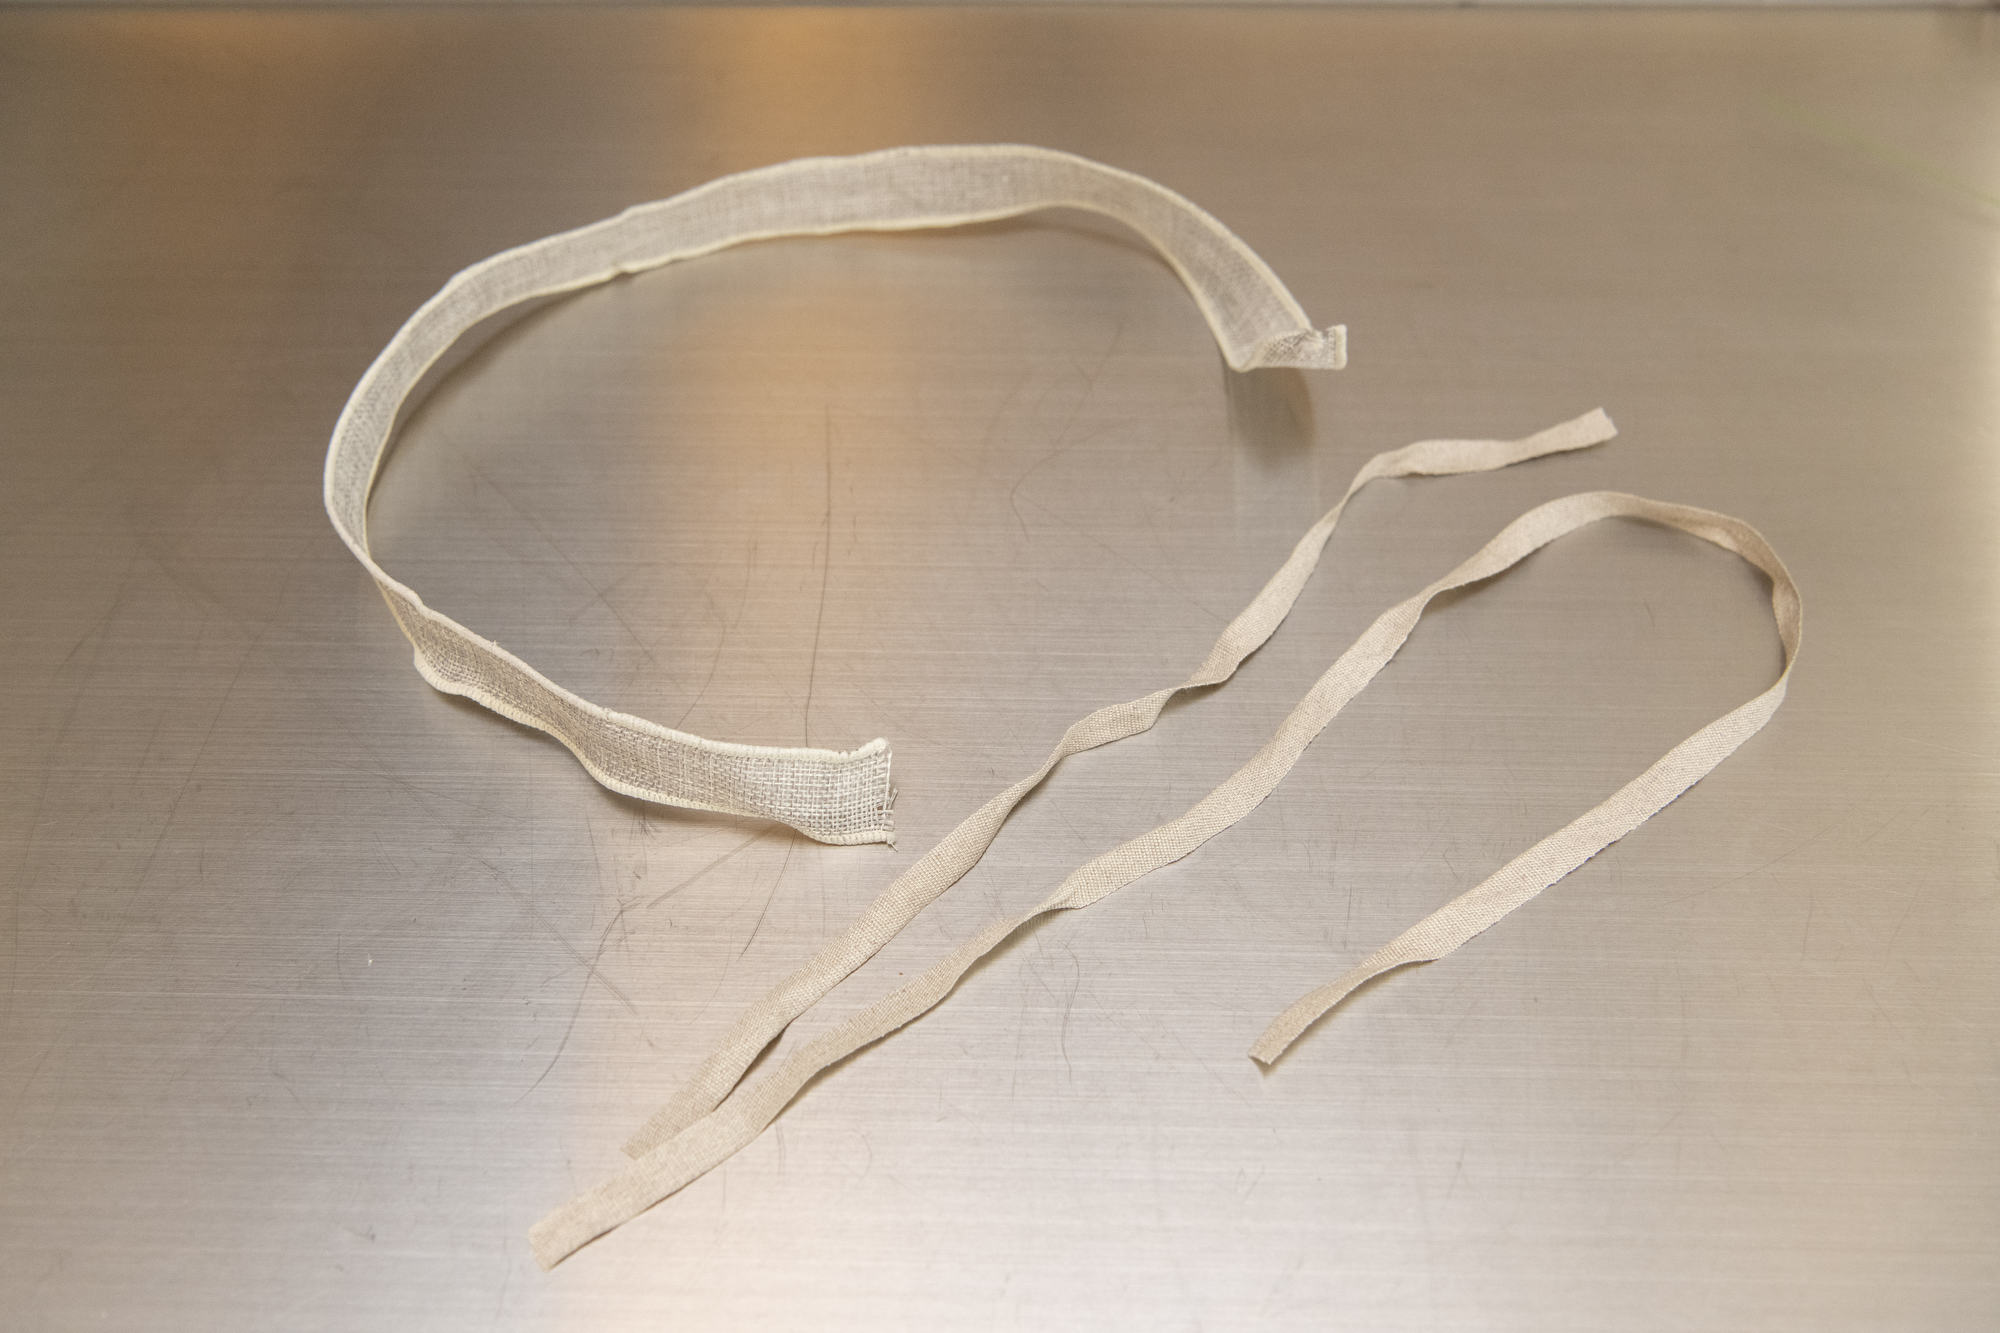
- Ribbons of 2 different widths. Double sided, wired ribbon is best as you won’t get confused about the top and bottom sides of a ribbon and shape it more easily.
- A pair of sharp scissors. Titanium, non-stick scissors is best for cutting ribbon.
- A piece of thin floral wire.
7 easy steps of ribbon bow making:
Step 1: Prepare 2 double-sided ribbons (width: 2.5cm and 1cm respectively). Leave at least 120cm long for the thicker ribbon and around 50cm long for the thinner one.
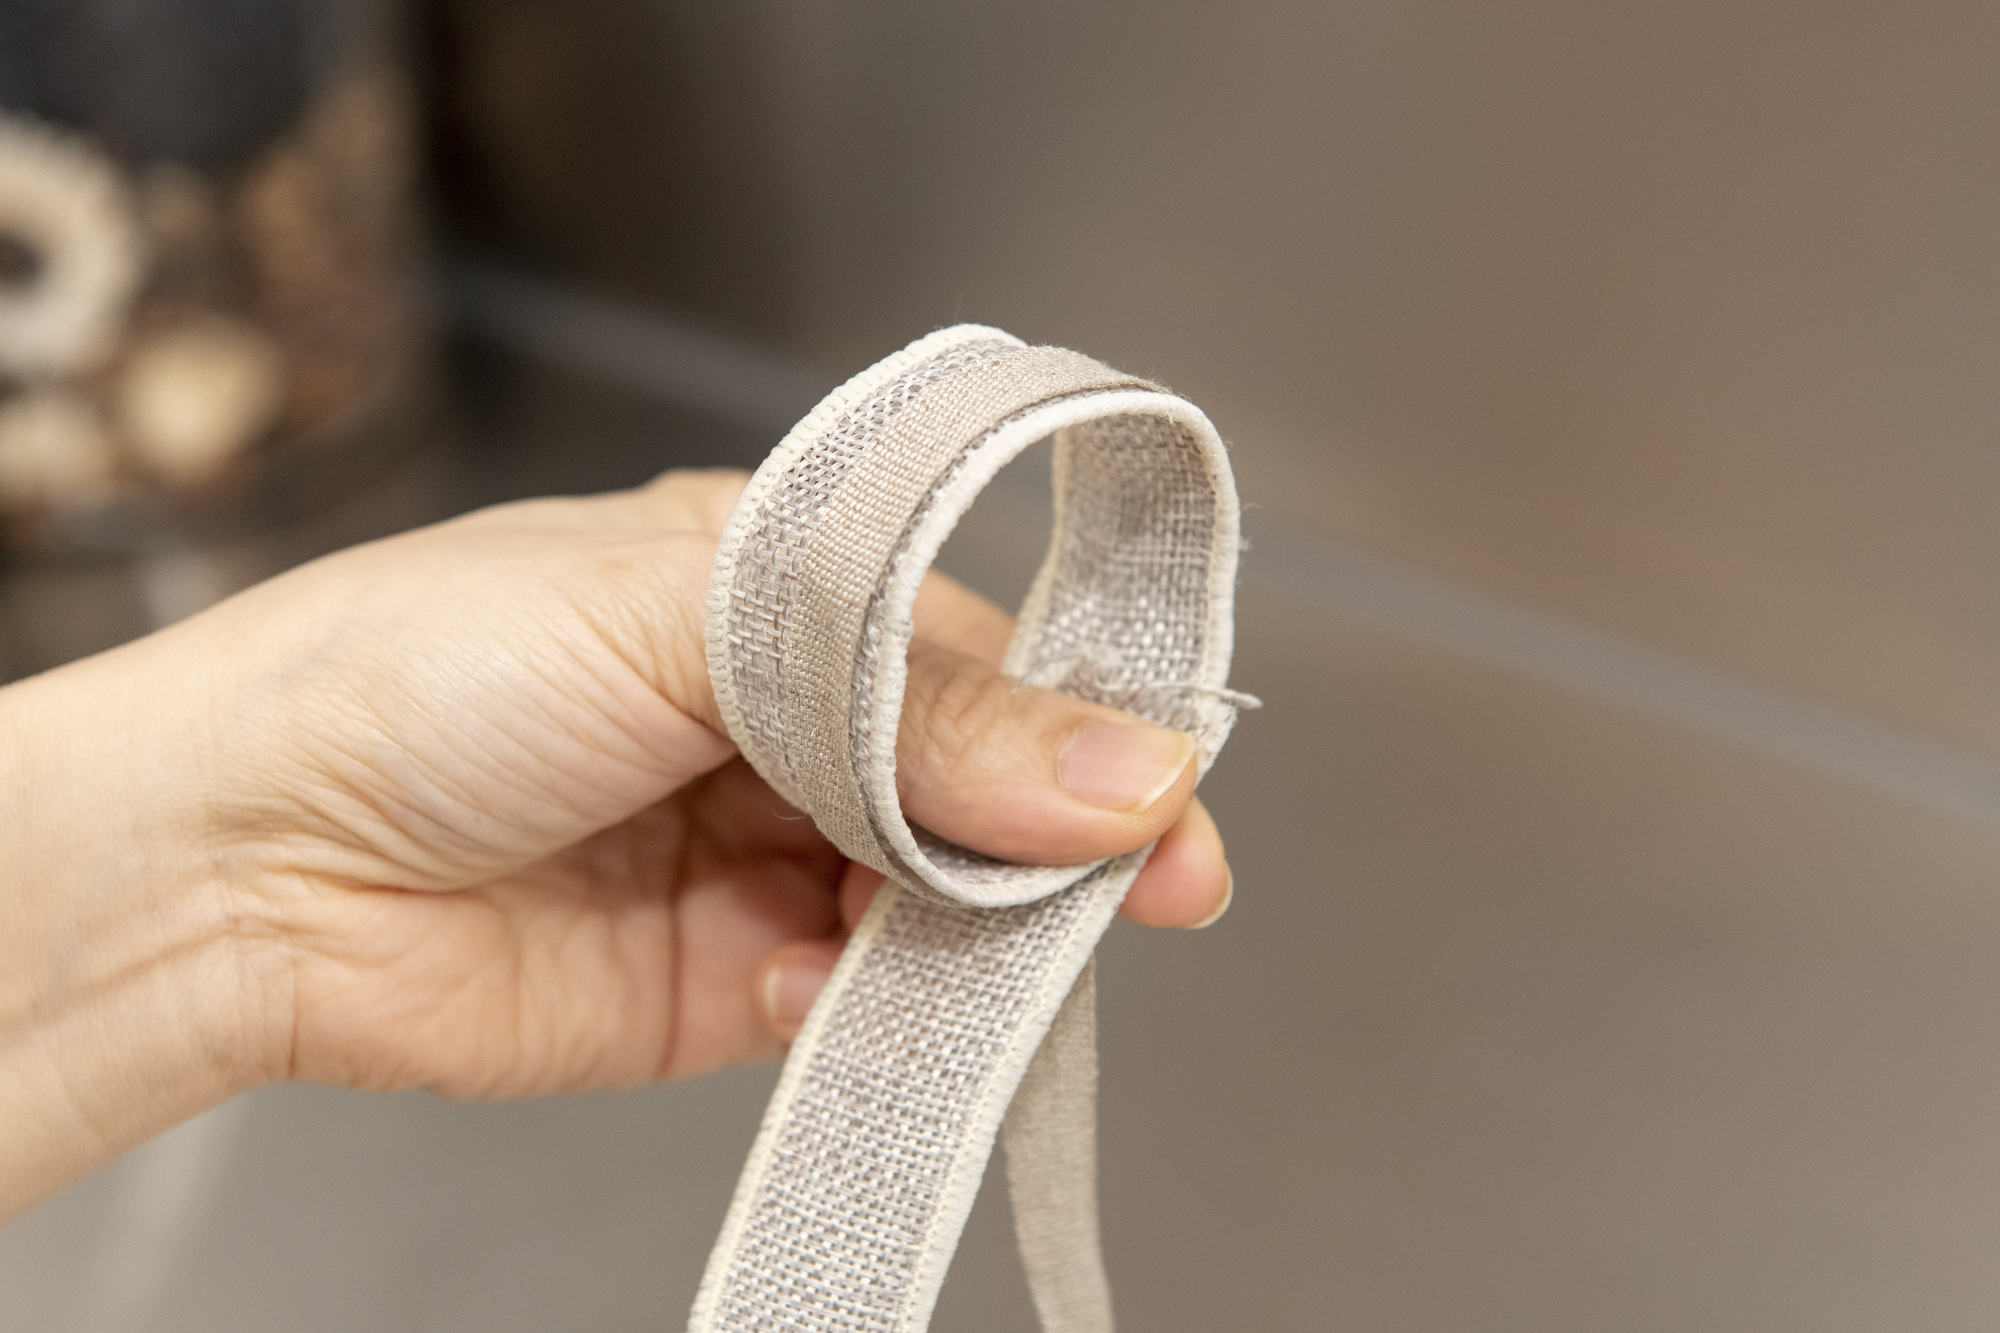
Step 2: Grab the end of the ribbon, loop it down towards the tail and back around to create a circle. Twist the ribbon at the back to secure position. You should now have your center loop.
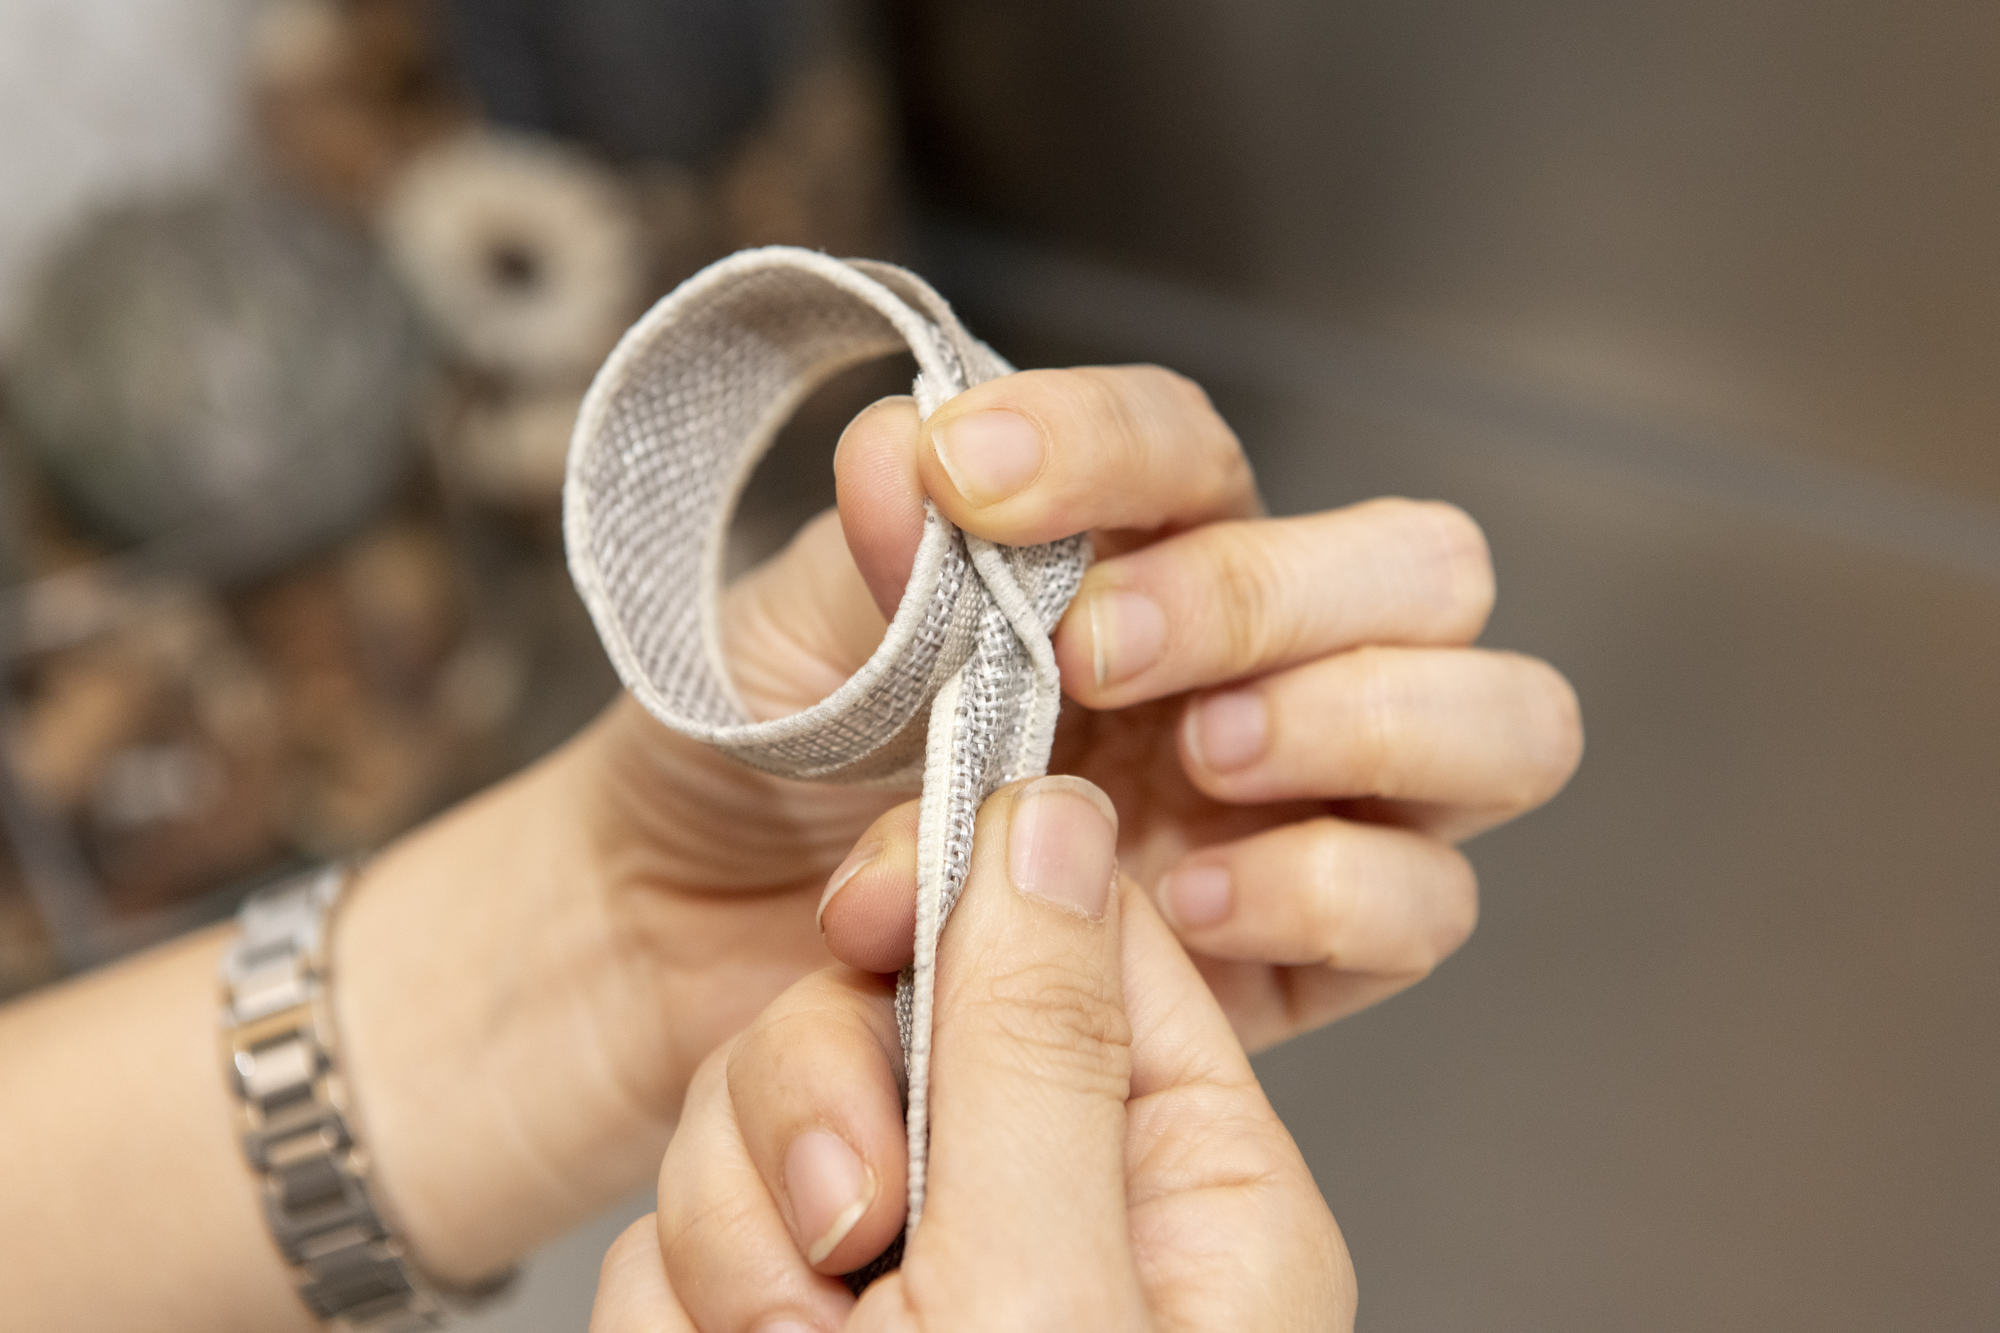
Step 3: Fold the ribbon back towards the bottom of the center loop to create your first side loop. Twist the ribbon at the back again to secure position. Each side loop is around 7cm long.
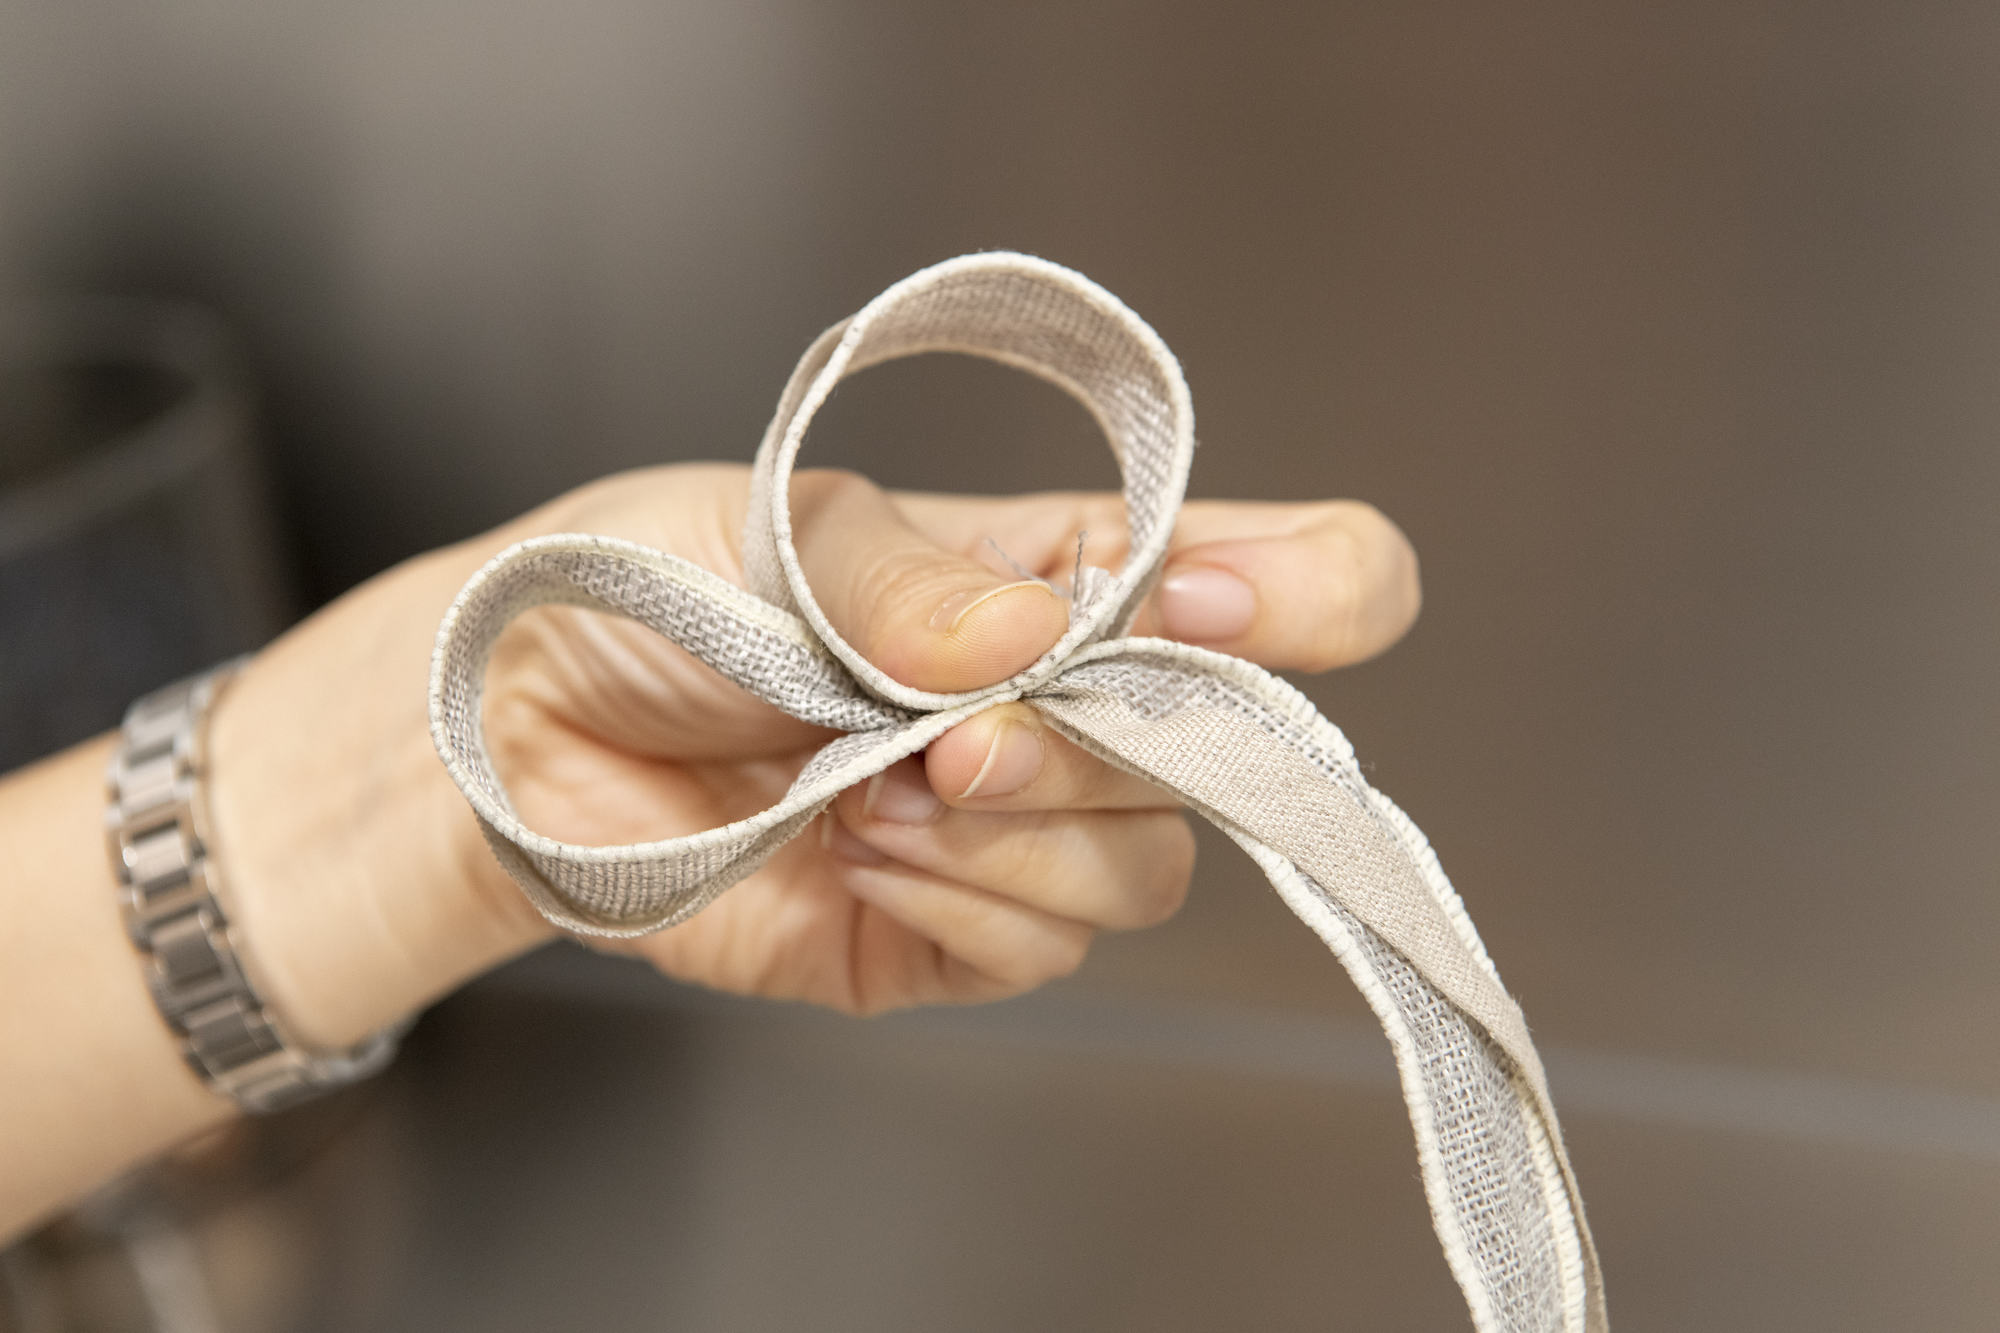
Step 4: Create another loop on the opposite side and twist the ribbon at the back to secure position. The length of this side loop should be around the same length as your first side loop.
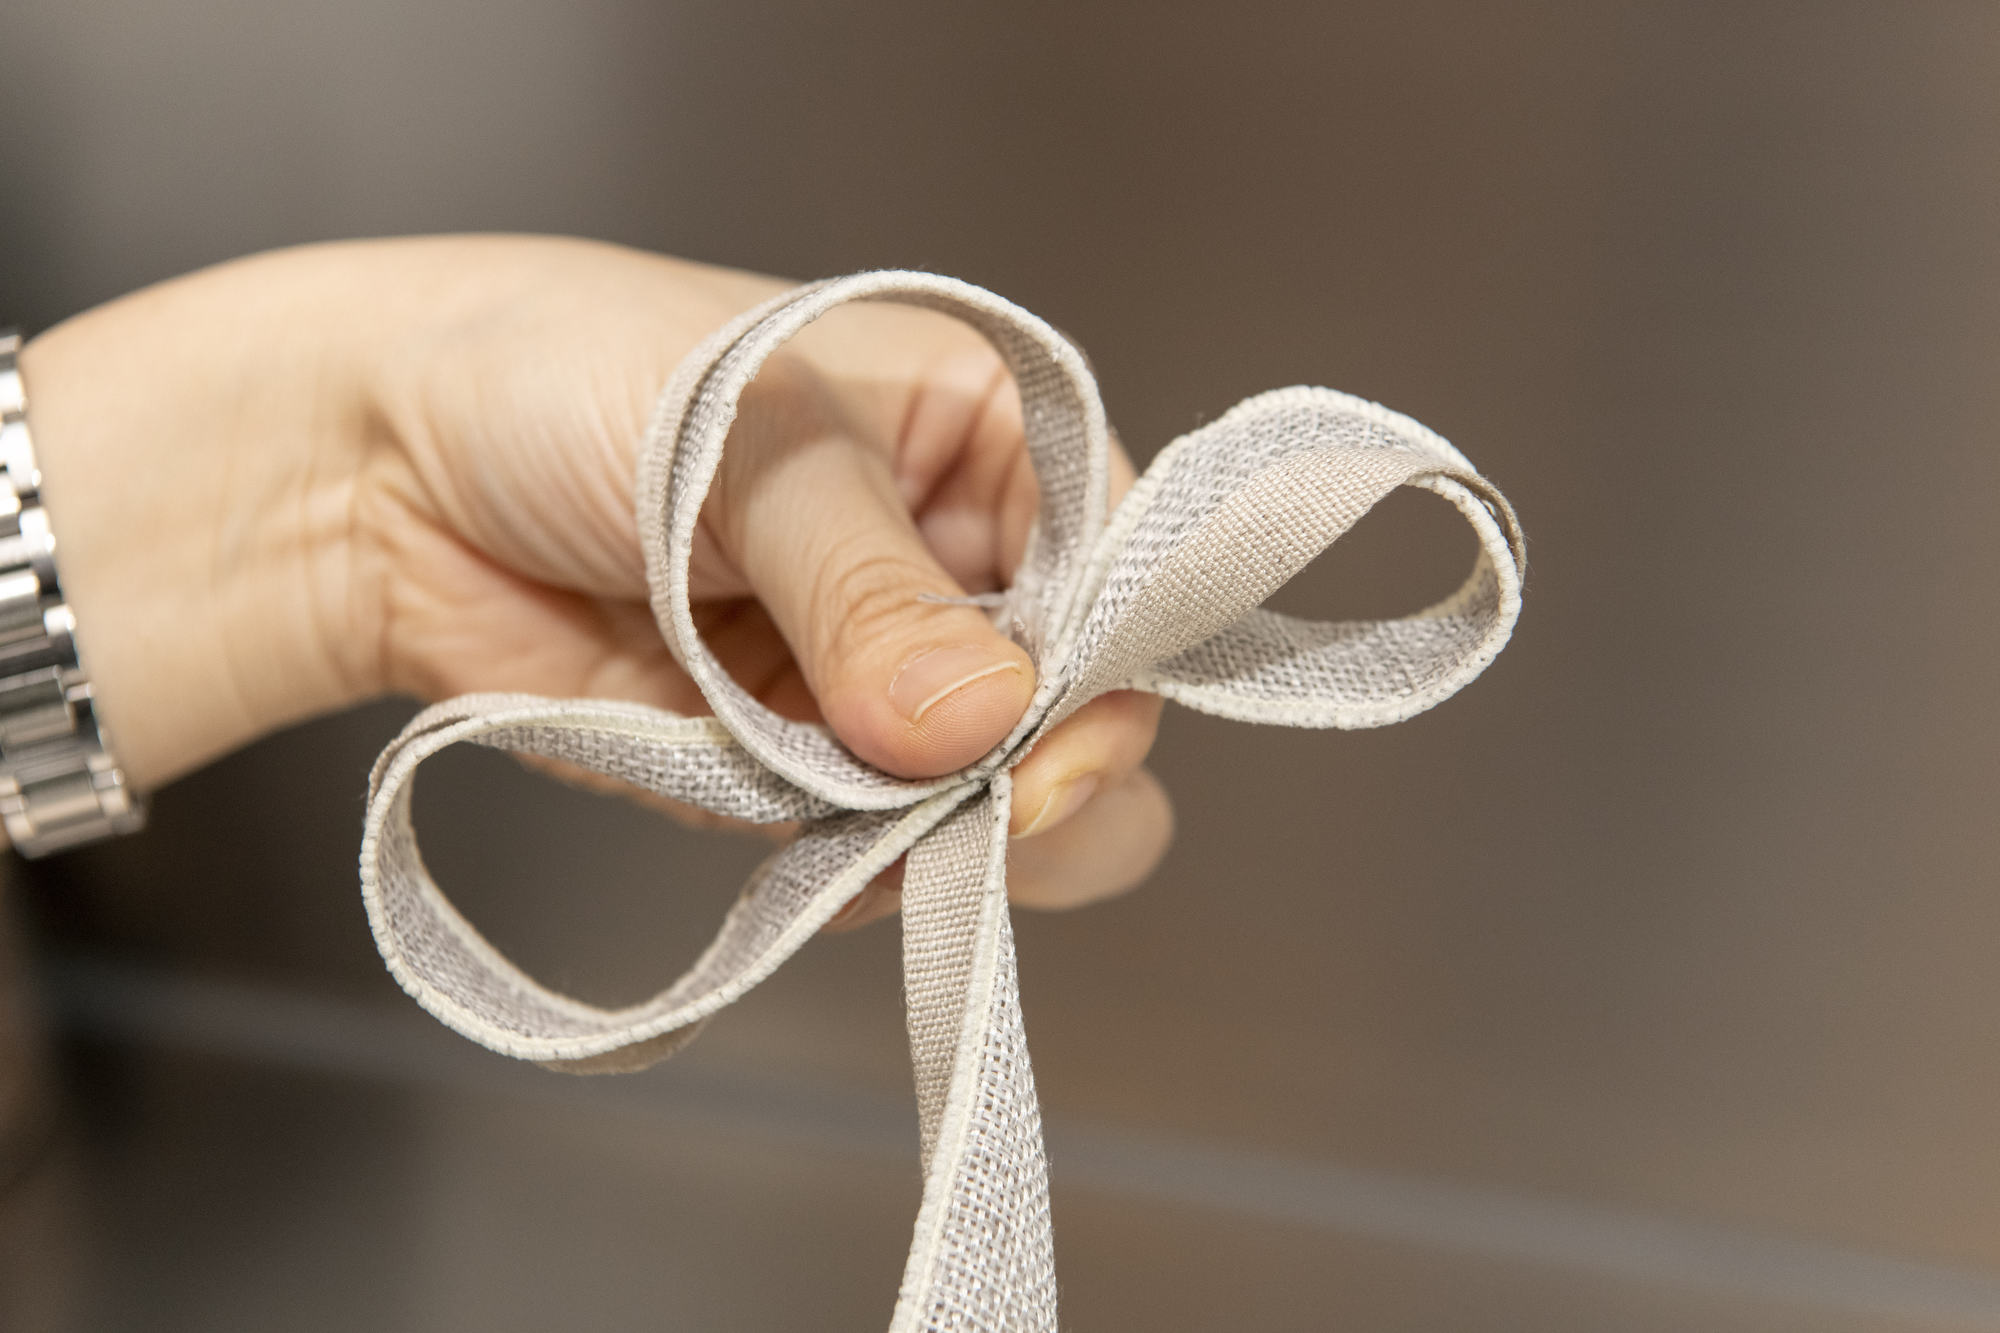
Step 5: Repeat Step 3 and Step 4 to make yourself one more loop on each side.
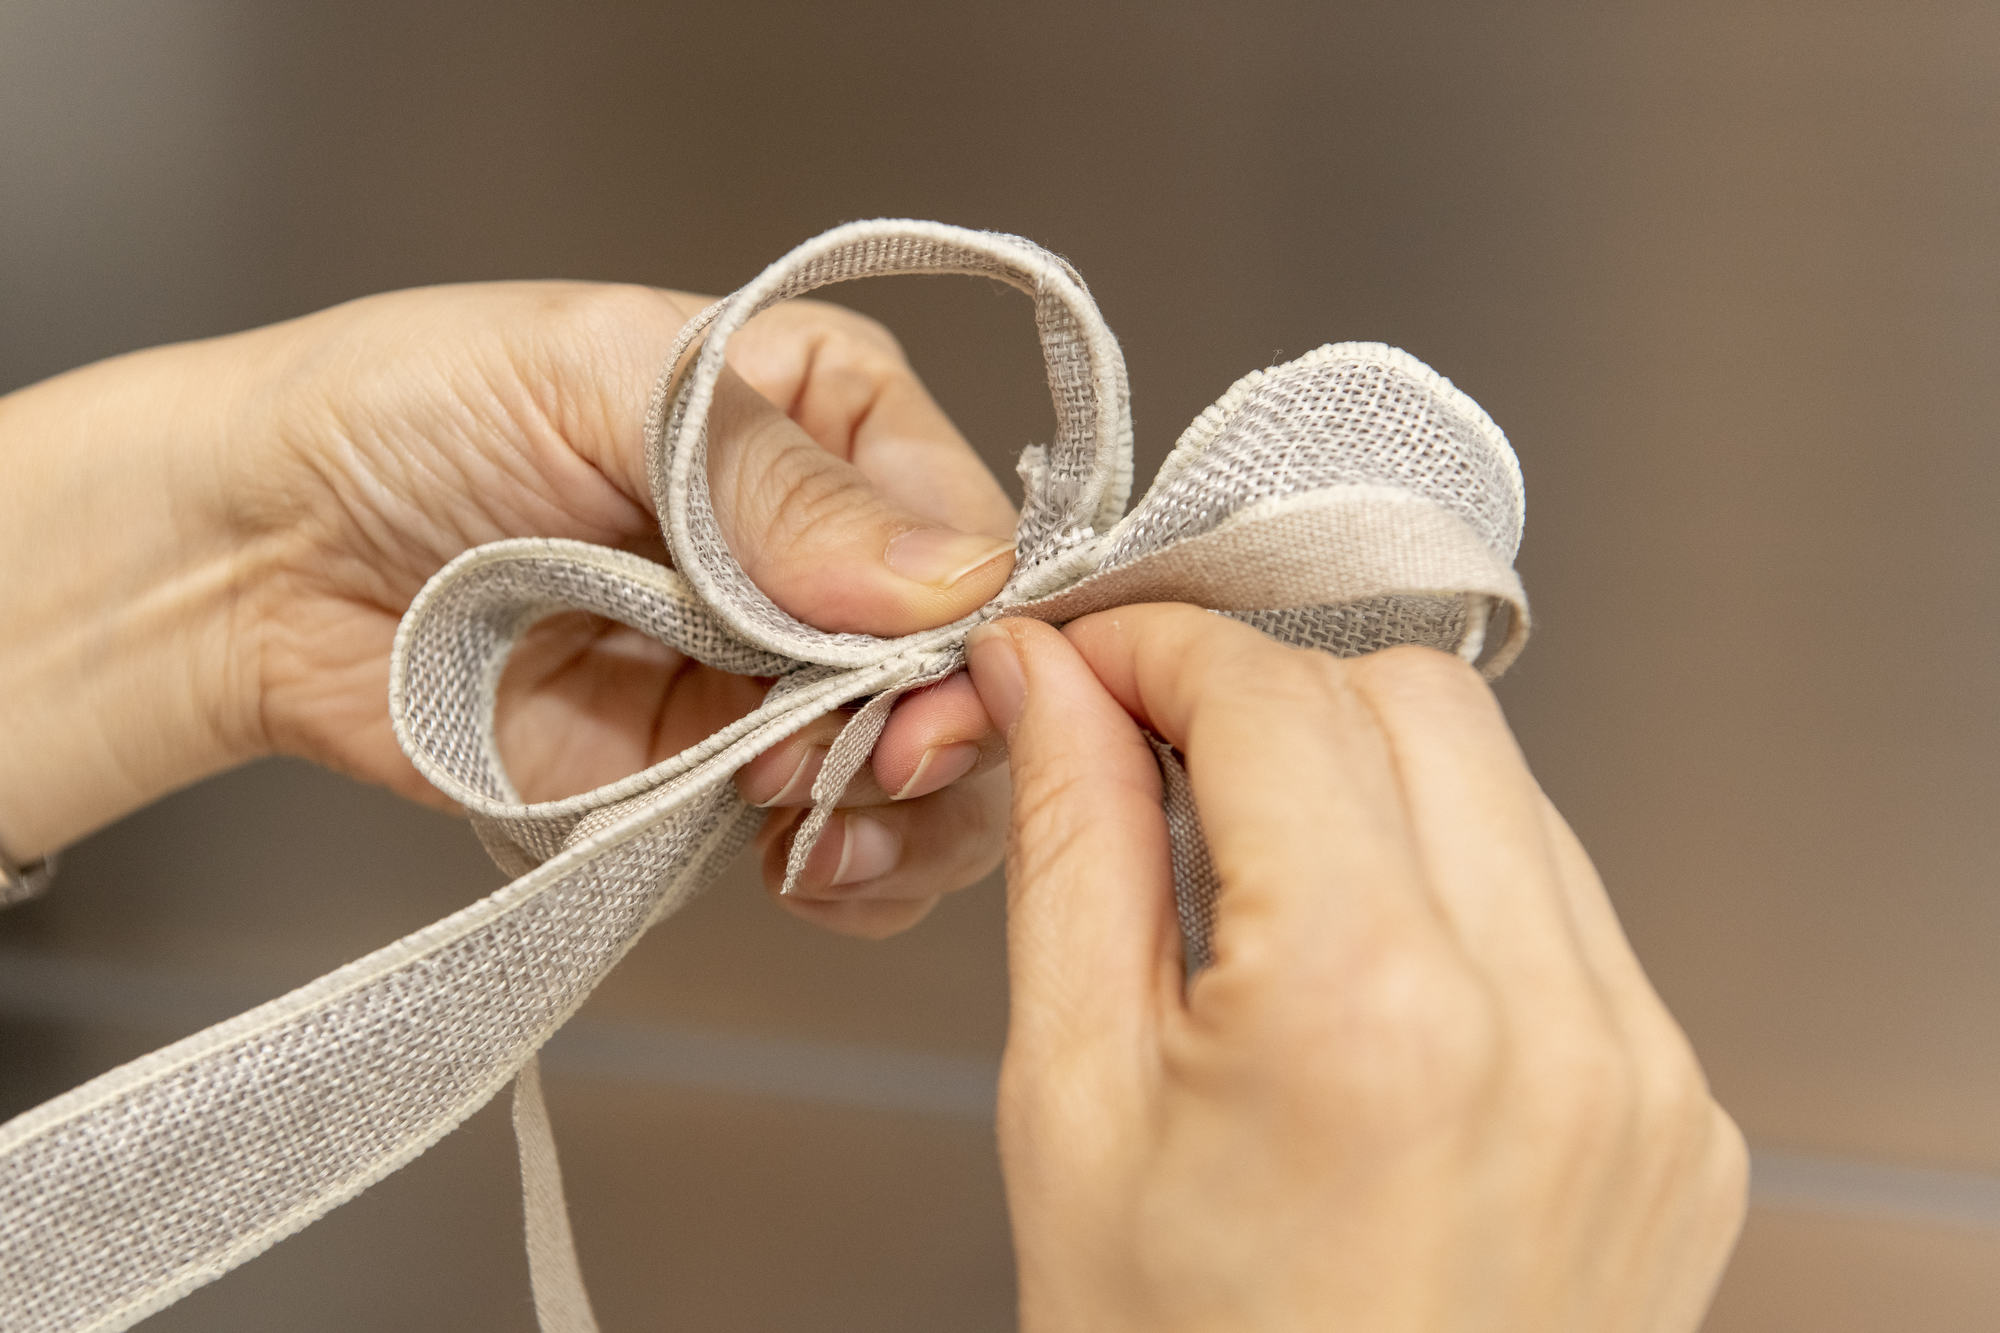
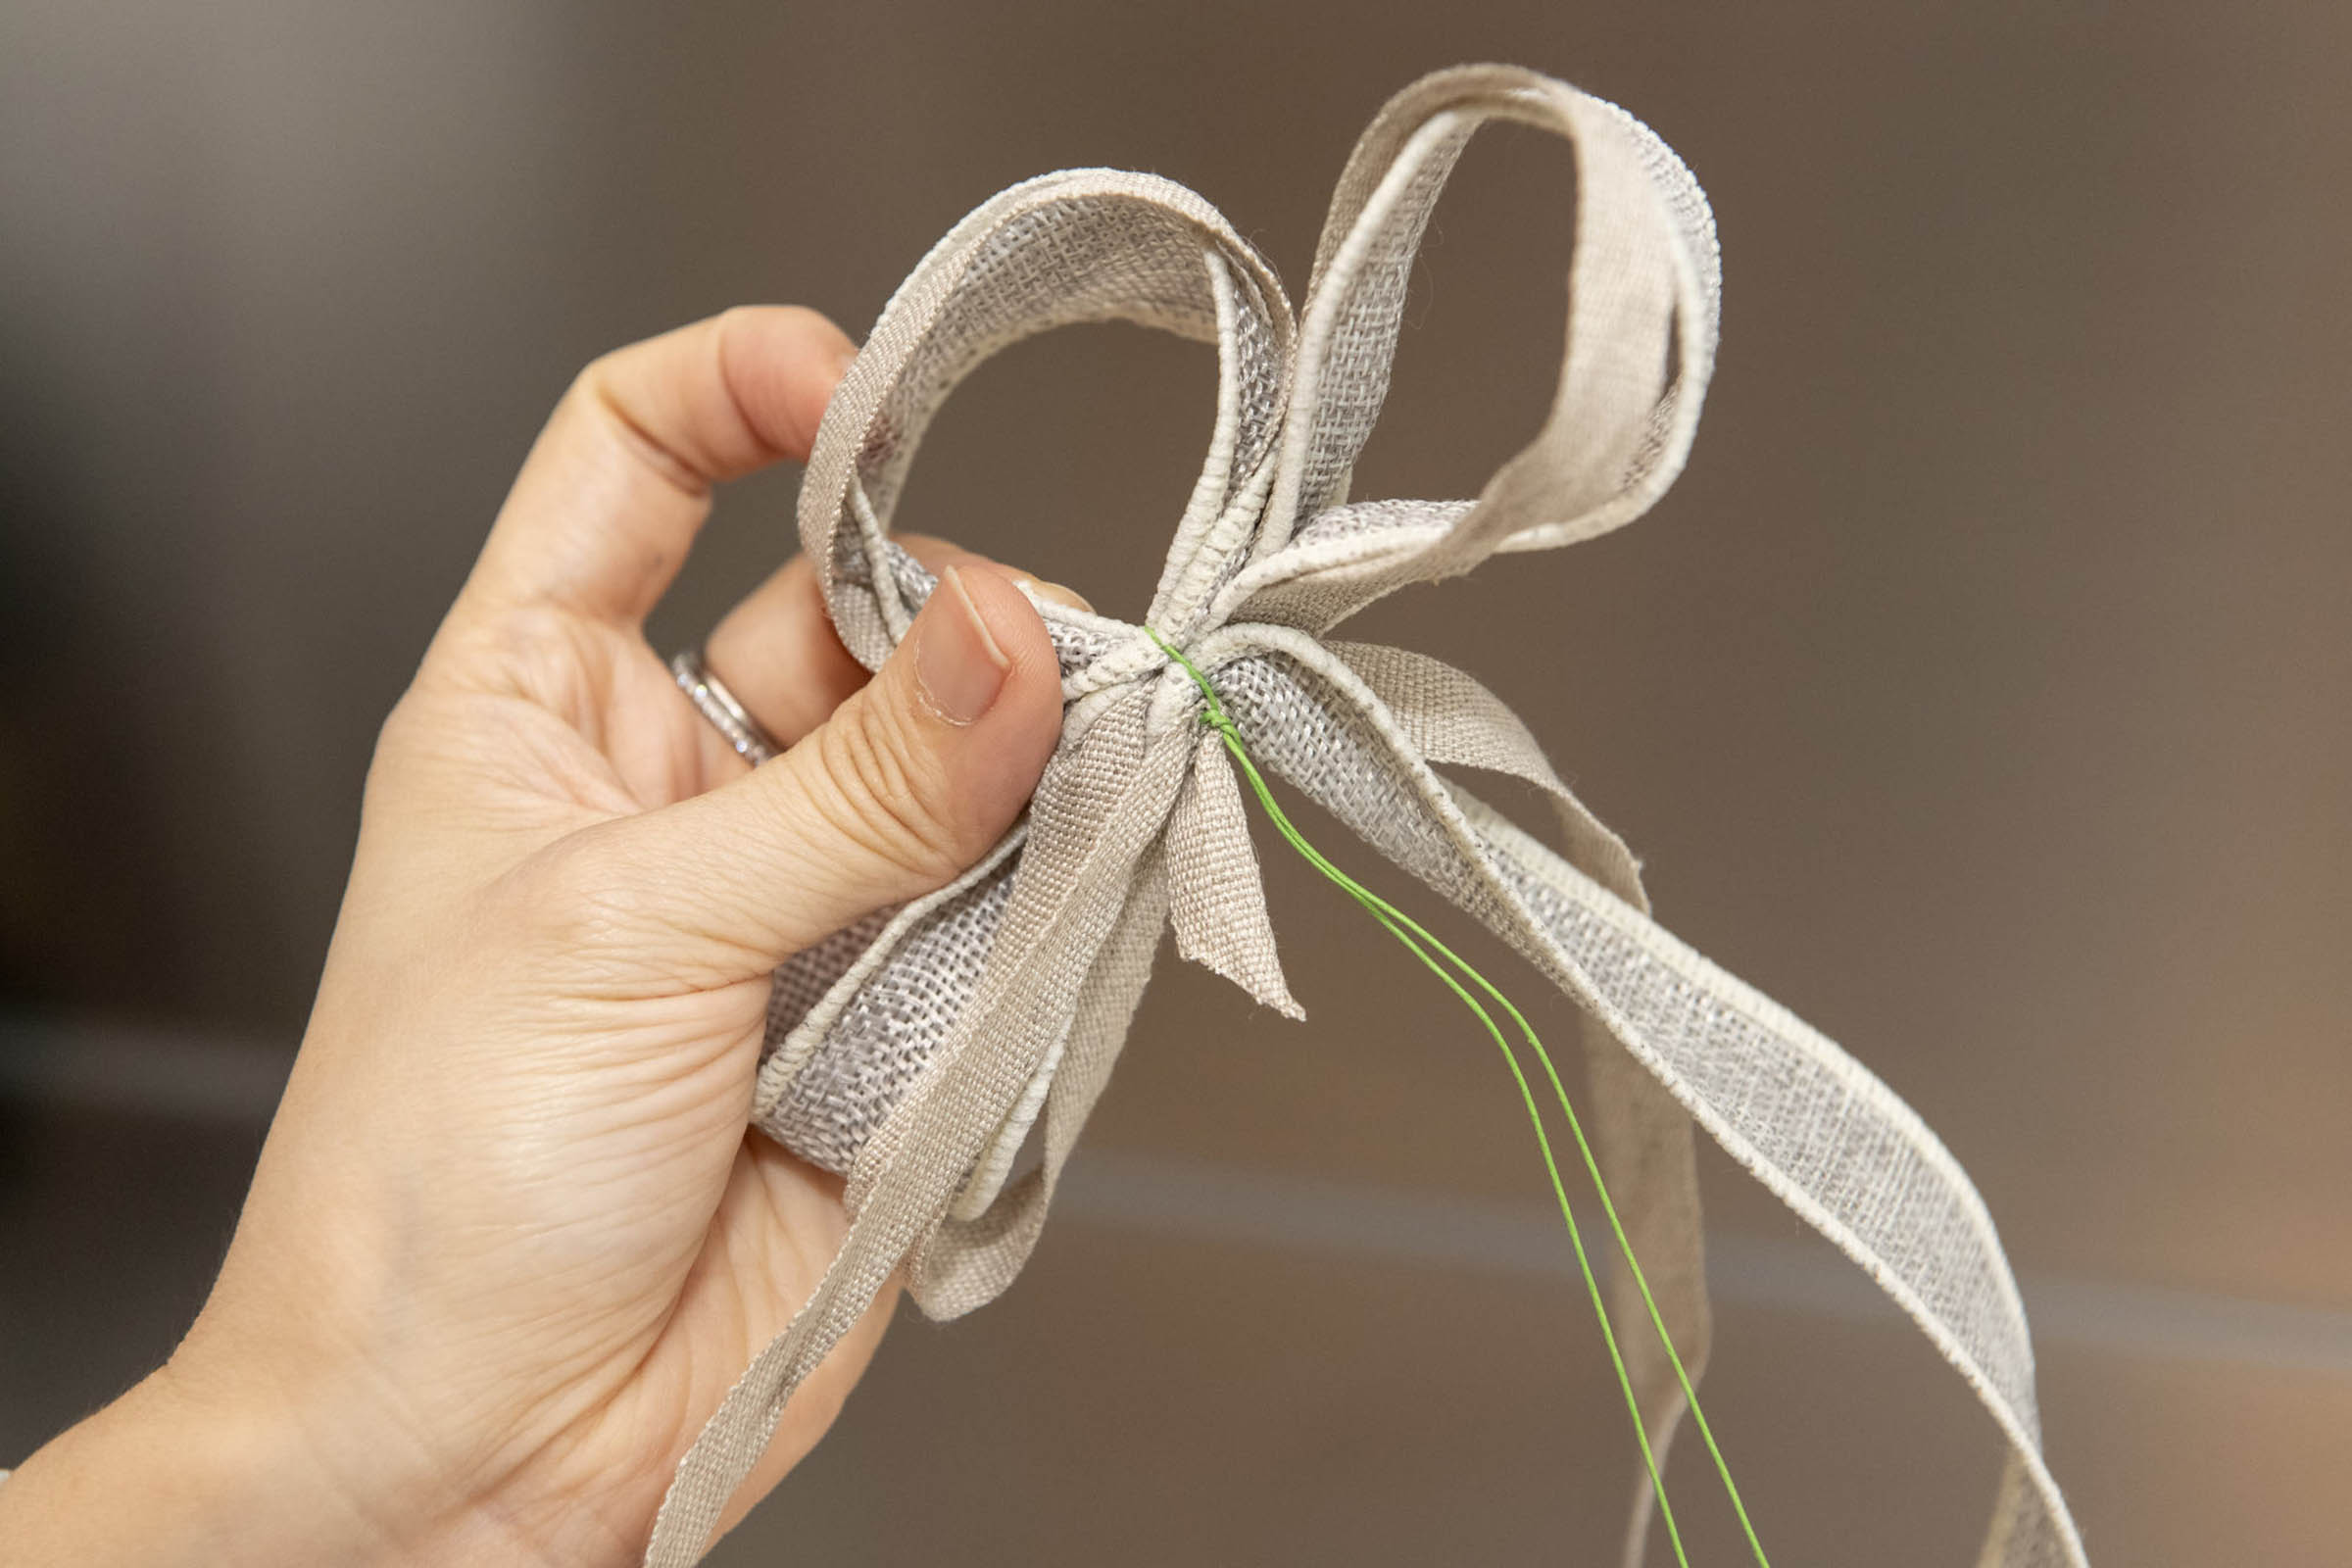
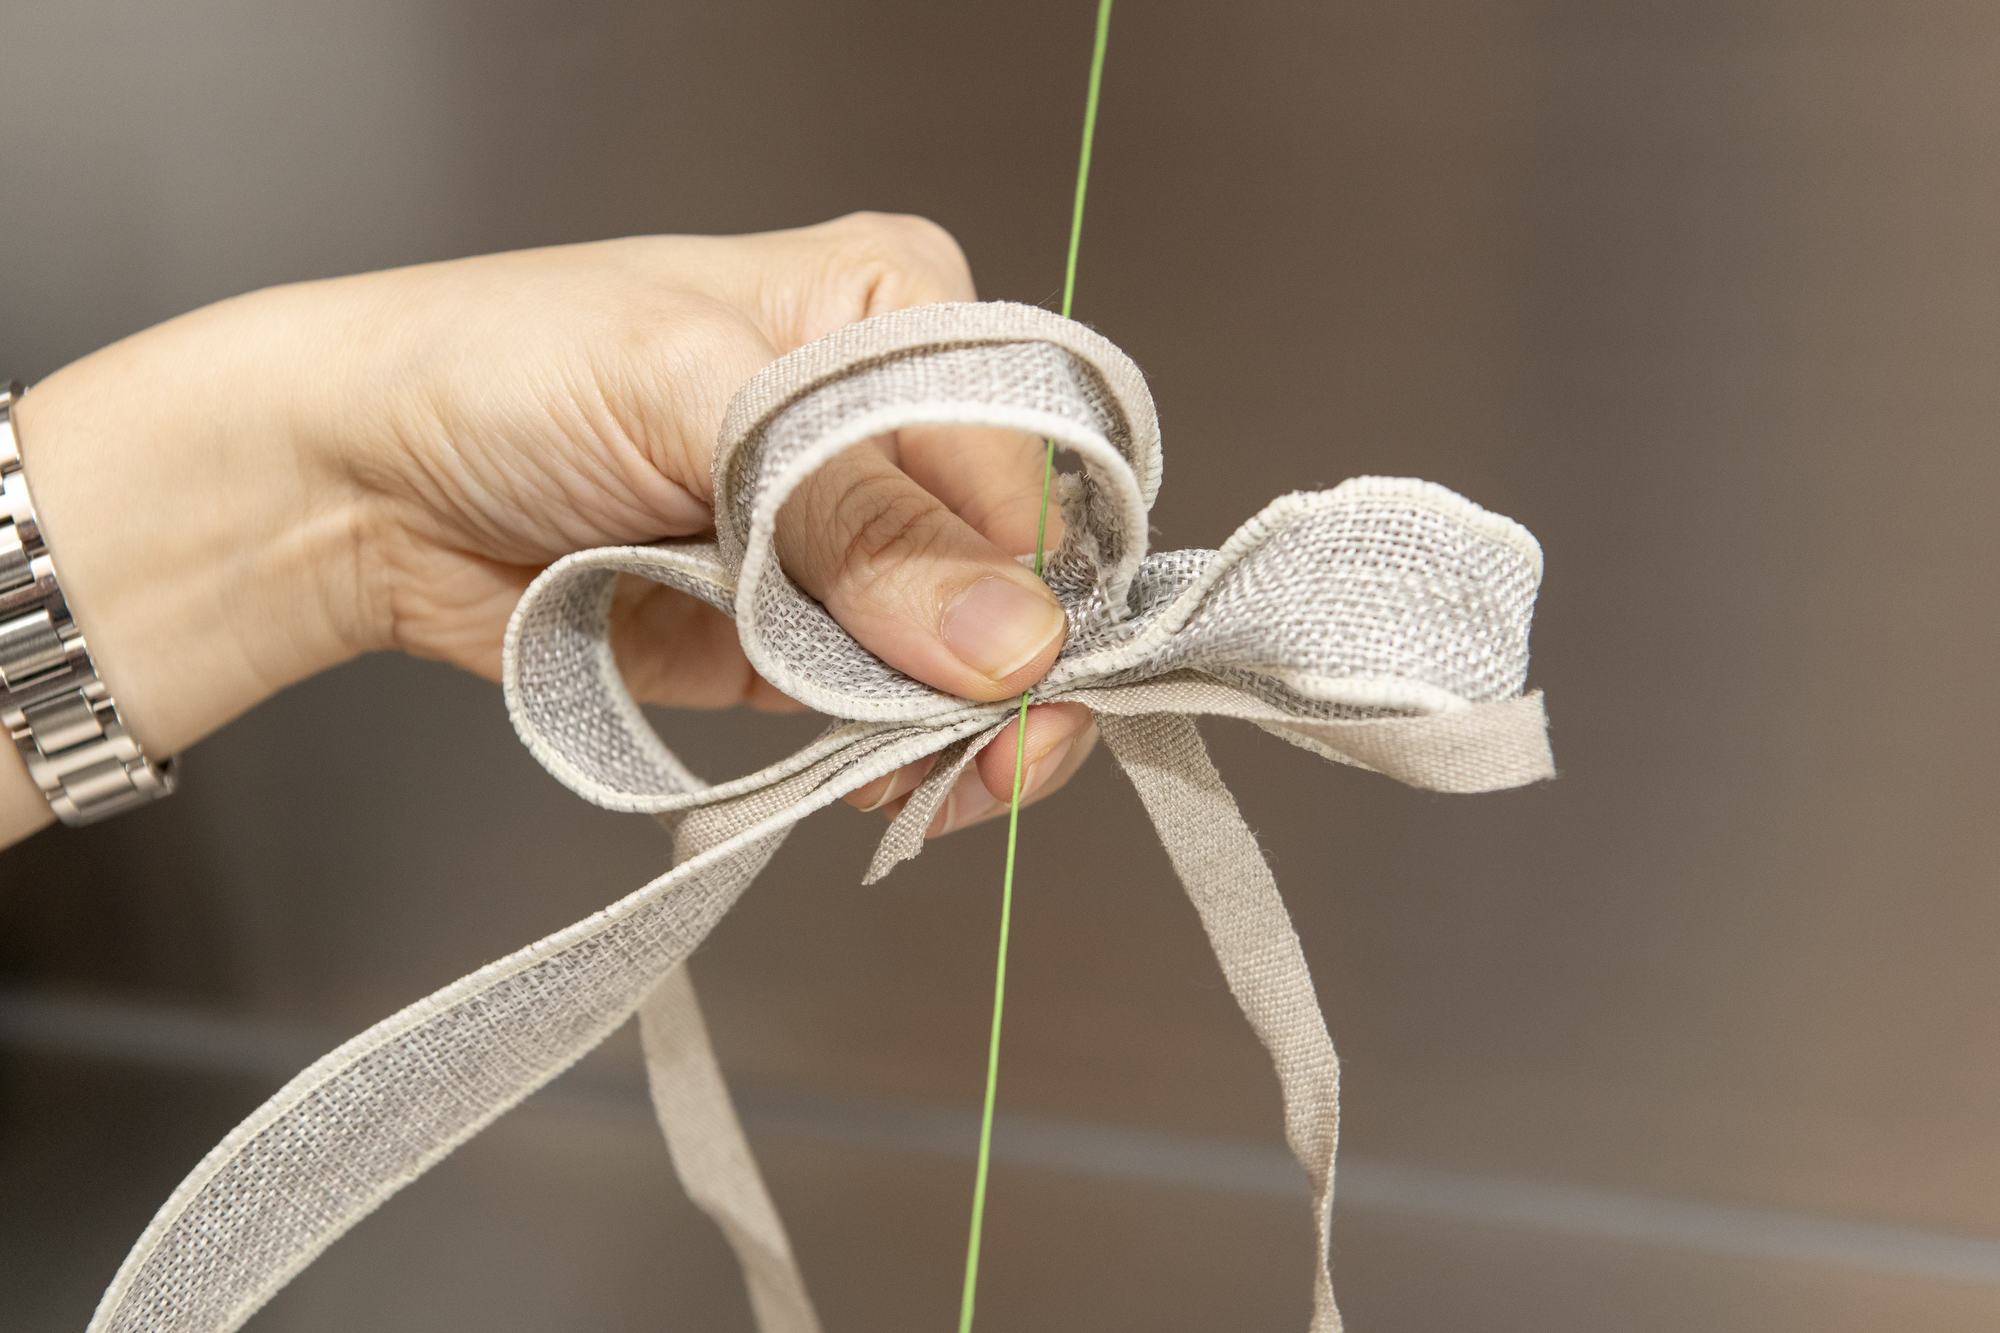
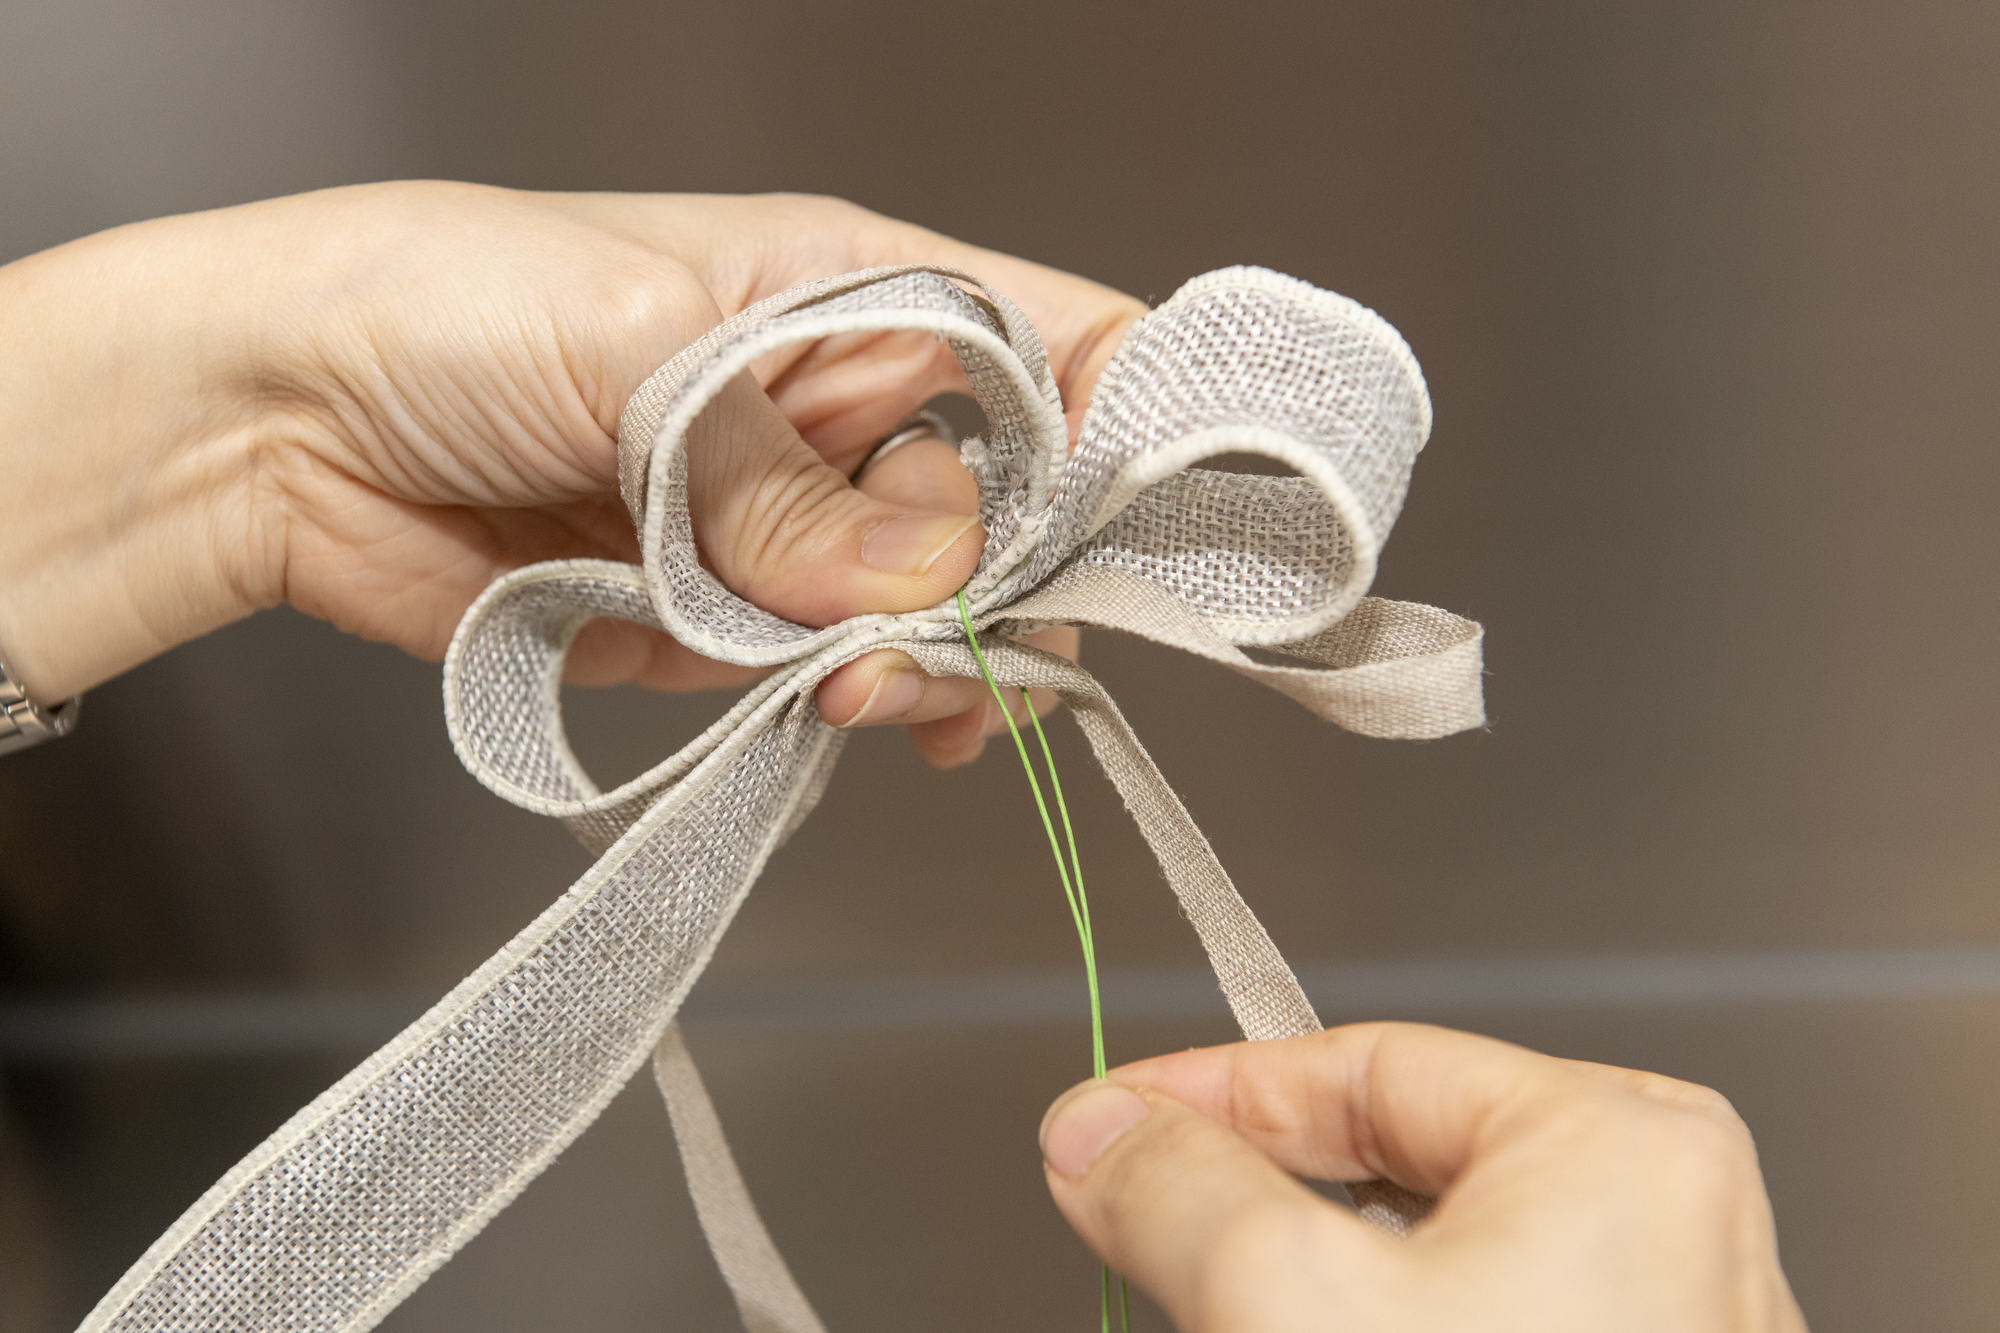
Step 6: Place the thinner ribbon at the bottom of the twisting point. Use floral wire to thread through the center loop, place it on top of the twisting point and bend both ends. Twist to secure.
Step 7: Done! Attached your ribbon bow to your bouquet or gift.
